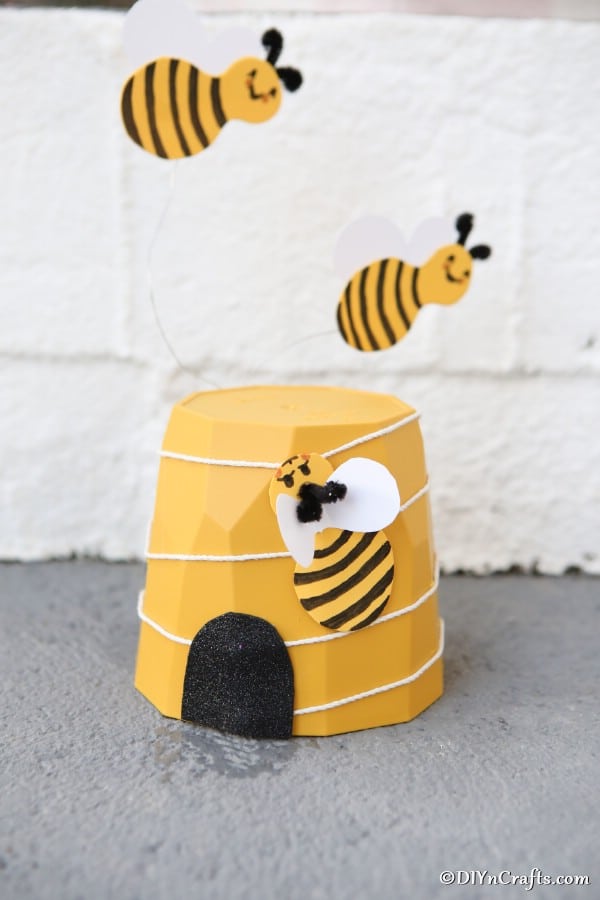
Flower Planter Bee Decoration for the Garden
I am in love with this bee ornament for the garden! Using simply a simple yellow blossom pot, some pigment, and imagination, yous too tin can create a cute little bumblebee garden decoration!
If yous love bees as I do, you'll autumn in dear with this picayune cute tin can can hanging bee arts and crafts garden ornamentation!
Bee Ornamentation for the Garden
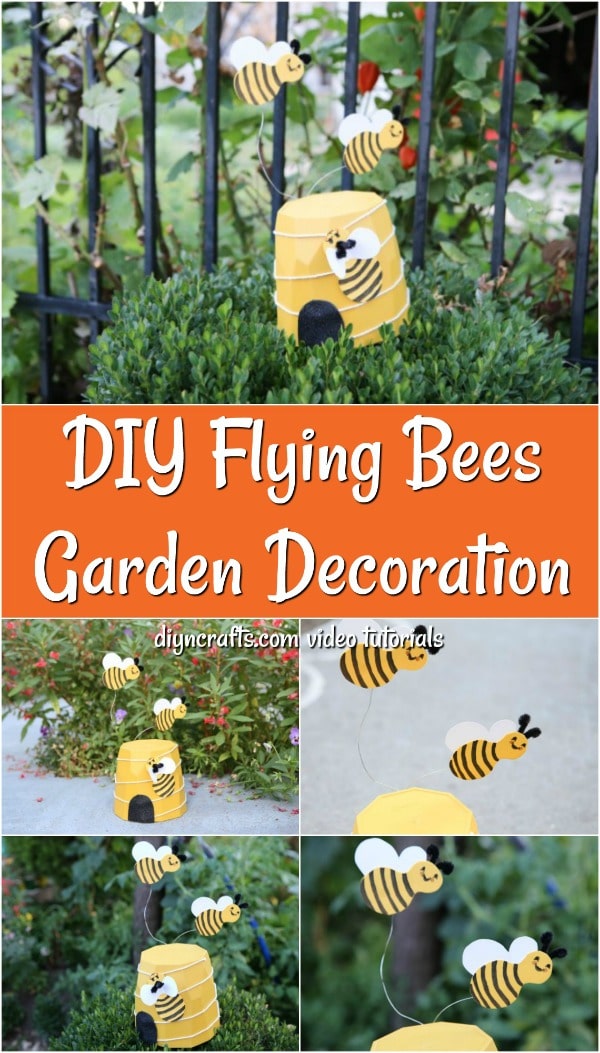
Isn't this just the cutest footling decoration ever?! I absolutely beloved how cute the little bees look on this arts and crafts in my garden. All y'all accept to exercise to make this bee decoration is grab a few craft supplies and a yellow flower pot. In simply a few minutes you will have a cute ornamentation that fits into your garden easily.
If you are really adventurous, you can add i of these real beehives to your backyard too! I'k not sure I will become that far, but this little yellow beehive with floating bees is platonic for my g.
What Paint Should I Apply for This Garden Decoration?
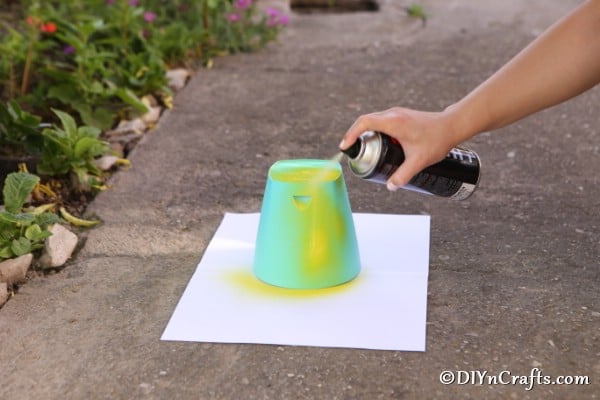
If you can't notice a yellowish bloom pot, yous will need to pigment yours. I wasn't able to find xanthous, so I spray painted mine and permit information technology dry earlier beginning this project.
Proficient spray paint is ideal for a project like painting this flower pot.
Y'all'll also want paint or permanent markers for drawing the door and bees. Just make sure information technology is oil-based so information technology doesn't wash off the pot easily.

Where Should I Display My Bee Decoration?
Obviously this is made to get in your garden, but if you lot don't have one that doesn't mean y'all can't utilize this cute ornament. I dear the idea of calculation a bee decoration to a child'southward bedroom or nursery.
It reminds me of Winne the Pooh and the honey that Pooh Behave was always sneaking. If yous have a Winnie the Pooh theme in a kid'southward room, this is a nifty addition you can perch on a shelf or dresser!
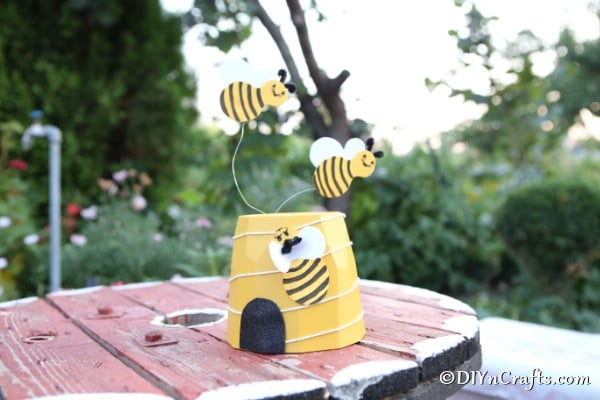
It's also ideal for spring parties as a centerpiece on a table! Leave information technology in the garden, on your porch railing, or anywhere that you prefer. At that place really is no right or wrong with this cute idea for the garden.
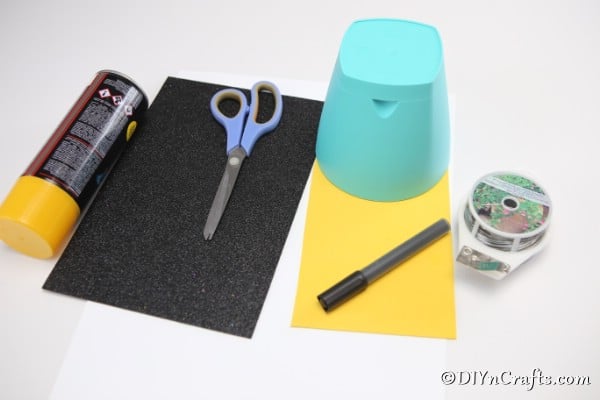
Supplies Needed
- White cardboard
- Xanthous flower pot
- Blackness and yellowish cream board
- Black mark
- White thread
- Garden or floral wire
- Pencil
- Scissors
- Hot mucilage gun and glue
How to Make a Bumble Bee Ornamentation
Get together your supplies together for this project, and brand certain to cover the work surface with paper or a drib cloth. If your flower pot is non yellow, begin past taking it outside to spray pigment yellowish.
Let the pigment to dry completely before moving on to the adjacent steps of the craft.
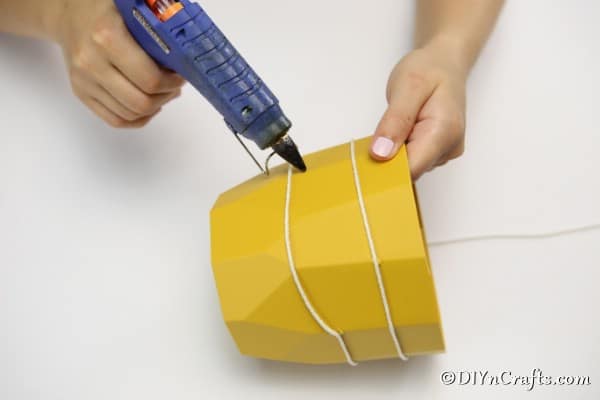
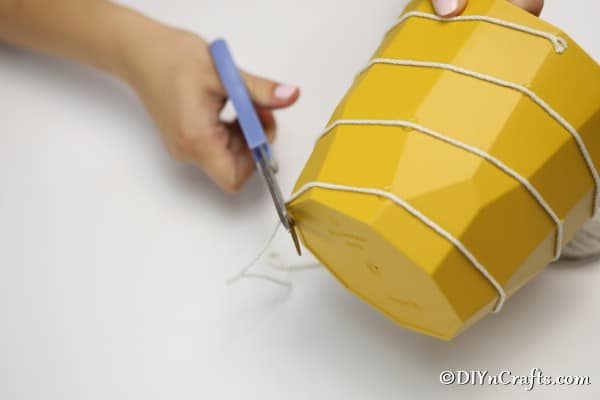
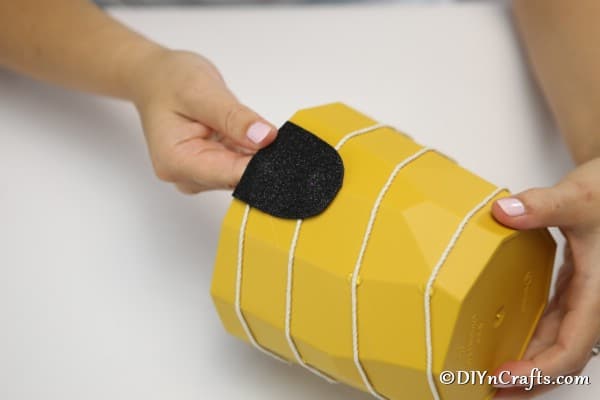
One time the paint has stale on your blossom pot, you will begin attaching the white thread or twine to the outside of the pot. Using hot glue to adhere it, wind the thread around the pot at a diagonal.
Once you lot reach the top of the pot, you volition clip the end and secure it with gum.
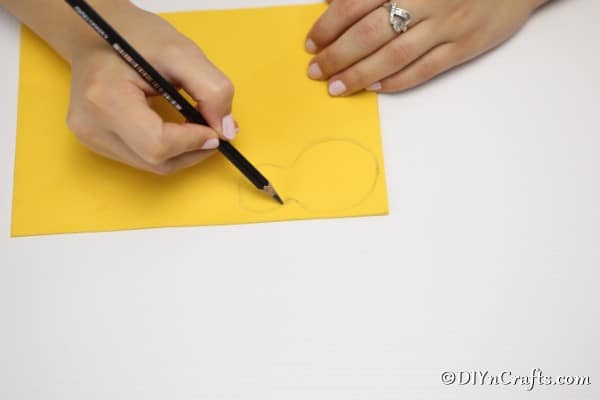
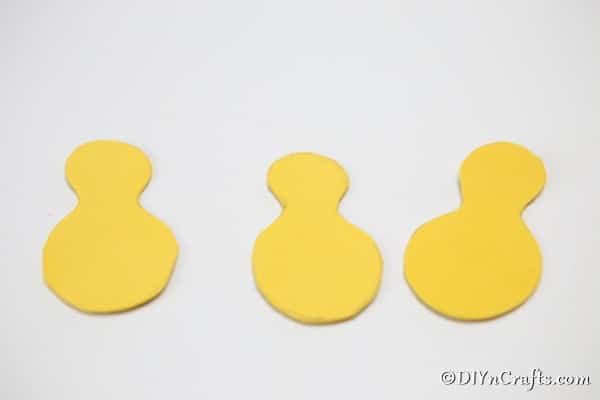
Next, you will use the cream paper to create the bees for this garden decoration.
Draw 2 circles on the yellow paper. One volition big, and one will be smaller, simply continued in the centre. This will form the trunk of the bee.
Cut this shape out, then use information technology as a template to depict and cute two-3 more than in the same size and shape.

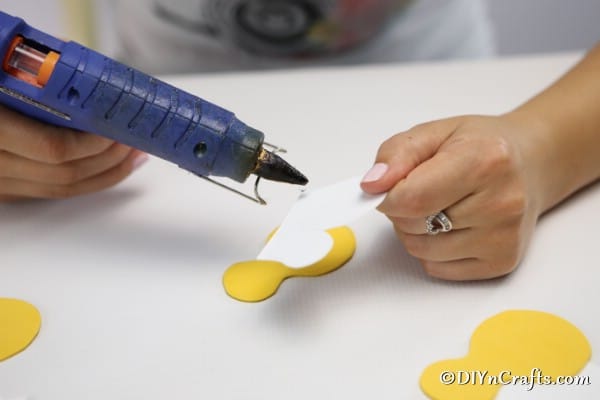
Next, to decorate the wings, you will employ pieces of white paper-thin to draw and cut out a simple wing pattern. Make one set for each bee.
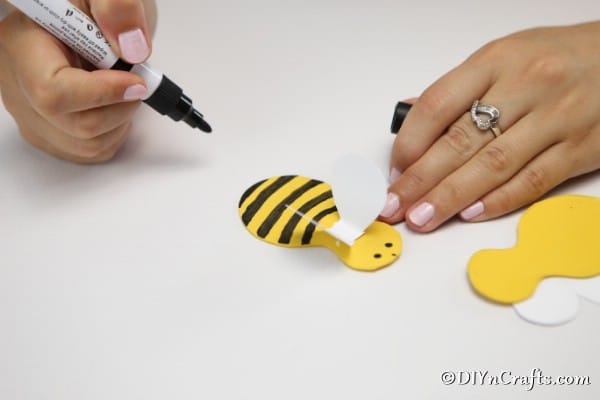
Using a black permanent marker, you volition describe stripes on the yellowish foam board along with a oral fissure and eyes to make the bees beautiful.
Cut modest black circles or ovals from the foam board to add together to the bees to create "ears" or antenna. You will too use the foam board to cut a pocket-size door to mucilage onto the flower pot.
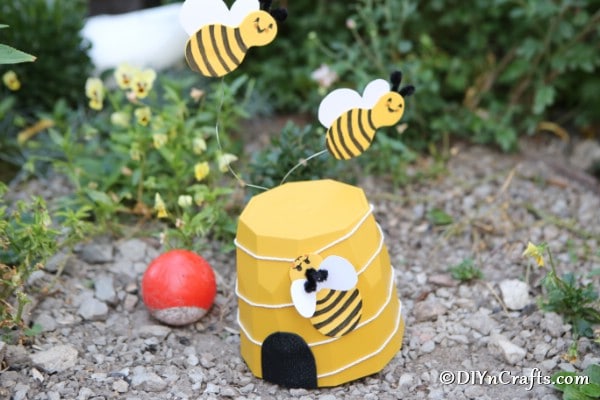
Now, hot glue i of the bees and the door to the outside of the flower pot.
Next, you will hot glue the floral wire to the backside of the flower pot. This will exist opposite the door y'all simply attached.
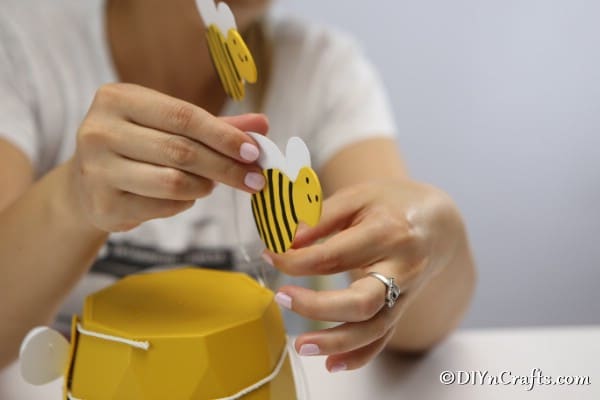
On the top of each long slice of wire, hot glue the additional two bees and curve wire to adapt them.
Video Tutorial
Printable Step by Step Photo Tutorial:
Prep Time v minutes
Active Time fifteen minutes
Additional Time 30 minutes
Total Fourth dimension 50 minutes
Difficulty Medium
Estimated Cost $3
Materials
- White cardboard
- Yellow flower pot
- Blackness and yellowish cream board
- Black mark
- White thread
- Garden or floral wire
- Pencil
Tools
- Scissors
- Hot gum gun and glue
Instructions
- Begin this projection past painting your flower pot if needed;
- In one case the paint has stale on your flower pot, y'all volition begin attaching the white thread or twine to the exterior of the pot;
- Using hot glue to attach it, wind the thread around the pot at a diagonal. Once yous reach the top of the pot, y'all volition clip the stop and secure it with glue;
- Adjacent, using the yellowish foam board, draw a bee blueprint to cut out. Ane terminate volition be larger than the other in a gourd shape;
- Cutting this shape out, then use it as a template to draw and cute 2-iii more in the same size and shape;
- Next, to decorate the wings, you will use pieces of white cardboard to draw and cut out a simple wing design;
- Add together blackness stripes to the back of the bee forth with a smile and optics to the meridian to make it look similar a smiling bee;
- Using the black foam board, add minor "ears" or antenna to the peak of the bees and a small-scale door on the forepart of the pot;
- Glue one of the bees on the side of the pot near the door;
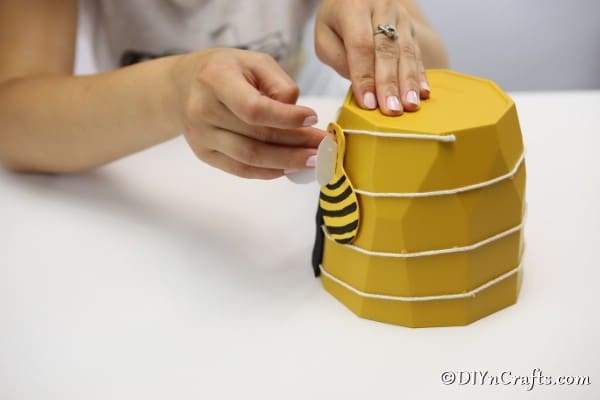
- Now, attach the floral wire to the dorsum/opposite side of the pot, and hot glue the remaining two bees to the ends so they look like they are flying;
- Display every bit desired in your garden or on your porch.
Source: https://www.diyncrafts.com/66304/crafts/flower-planter-bee-decoration-for-the-garden
0 Response to "Flower Planter Bee Decoration for the Garden"
Post a Comment